


How to Install a Built-In Oven the Right Way

Plenty of new ovens end up tilted, poorly sealed, or scorching the cabinet next to them within the first year.
The fix is simple: learning how to install a built -in oven properly from the first measurement to the final test run solves nearly every one of those problems before they start.
Kitchens fitted this way keep their cabinetry intact, run safer circuits, and cook food evenly for years, which says a lot about why the method holds up outside theory.
So, before assuming this job needs a professional from start to finish, it helps to see what actually goes into doing it right. What really separates a smooth installation from a wobbly, uneven one?
Why Getting the Installation Right Matters?
Rushing this job rarely ends well. An oven that isn't level cooks unevenly, and tight rear clearance can scorch the cabinet over time. A proper built in oven installation protects the appliance, the woodwork, and everyone who cooks in that kitchen daily.
Airflow, electrical safety, and solid mounting all play a part in the outcome. Slowing down on each step now saves real hassle later, since fixing a badly fitted oven usually means pulling the whole thing back out again.
Measuring the Cabinet Space Correctly
Accurate oven cabinet measurements come before anything else gets touched. Most ovens fit a standard width, but height and depth shift across single, double, and compact models.
Checking width at the top, middle, and bottom catches uneven cavities, which show up often in older kitchens. Depth matters too, since a cramped rear gap traps heat against the cabinet wall.
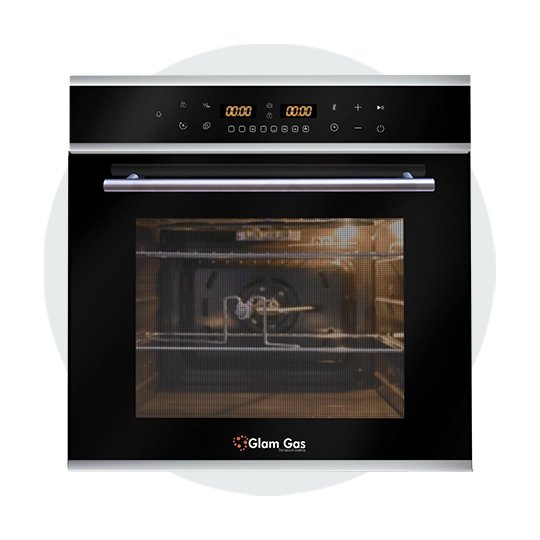
Anyone comparing models can browse a Built-in Oven range early, since matching dimensions to the cavity before buying avoids a frustrating return later.
Tools and Preparation Before Installation
A few simple tools speed things along once measurements are locked in. A tape measure confirms cavity size against the spec sheet. A spirit level catches tilt that throws off cooking and strains hinges over time.
A screwdriver matching the supplied screws gets the fixing done properly. An extra pair of hands matters too, since these appliances are heavier than they look.
Clearing the cabinet's back panel counts as prep work as well, since a blocked rear cuts off airflow the oven needs to run safely.
Step by Step Installation Process
This part covers the real work behind any built in oven installation guide, and following these steps in order saves backtracking later.
-
Switch off the power first, whether the oven plugs in or needs hardwiring.
-
Slide the oven into the cavity with a second person helping, keeping the door swinging freely and the front flush against the units.
-
Ease it back out and check for a caught cable if it starts resisting, since forcing it rarely ends well.
-
Place a spirit level on the base to check it sits straight before fixing anything down.
-
Add shims to sort out tilt, since this step gets much harder after mounting.
-
Secure the oven with the supplied screws once it's level, tightening by hand rather than forcing them.
-
Restore power and run a short test cycle before closing the cabinetry back around the unit, confirming the fan runs and the door seals properly.
Mistakes That Are Easy to Overlook
A handful of small slip-ups cause most oven problems down the line. Leaving the back panel in place blocks airflow and slowly damages the unit. Skipping the levelling step leads to uneven cooking and worn-out hinges over time.
Assuming a like-for-like swap needs no electrical check is risky if the wiring has aged since the last fit. Anyone renovating a full kitchen might look into Built-in Sinks at the same time, since fitting several appliances together saves real time and effort.
When to Call in a Professional
Most of this job stays manageable solo, but a few parts genuinely call for an electrician. Hardwiring an oven or adding a new circuit needs certified work, not a weekend DIY attempt.
Getting this part wrong isn't just inconvenient; it carries real safety risk and can affect home insurance too. Planning a kitchen upgrade soon? A visit to glamgas.com helps with choosing the right appliance before the toolbox even comes out.
Frequently Asked Questions
Is it possible to install a built-in oven without an electrician?
The physical fitting can usually be done solo, but hardwiring still needs a certified electrician.
What size cabinet fits a standard built-in oven?
Most built-in ovens need a 60cm wide opening, though height changes depending on the model.
How much space is needed behind the oven for ventilation?
A 35mm rear gap works well, plus a few millimetres of clearance on each side.
How long does the entire installation usually take?
Fitting the oven alone usually takes one to two hours once the cabinet is ready.